Beyond the Tripod: Handheld Landscape Photography:
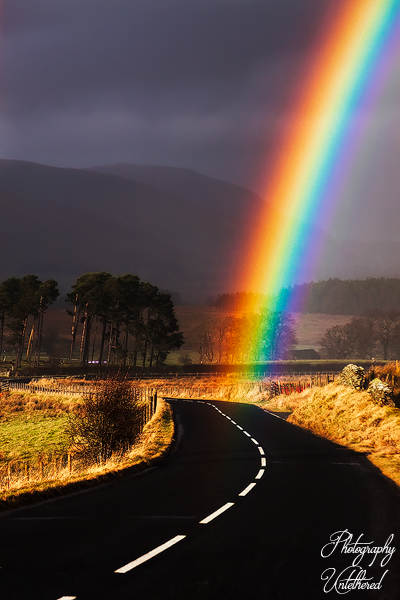
In Celtic tradition, rainbows signify the promise of a new life. To capture this handheld image one New Years day, in the ancient Celtic Kingdom of Rheged, I had to take it as a good omen. But what I found at the end of the rainbow – well, that is a story for another day…
Look at the rainbow and praise its Creator!
How magnificent, how radiant, its beauty!
Like a bow bent by the hands of the Most High,
it spans the horizon in a circle of glory.
As most photographers will attest, like them, I have been on a journey. A sort of evolution. Starting with a camera and lens and little else, I soon amassed a plethora of additional equipment. The largest and heaviest was a tripod. I was quickly breaking my back ascending hills with all this kit to get a decent image. I do remember the time I lugged all this kit up (including tent) to Robinson in Buttermere only to find I had left the arms for the Manfrotto: which in an instant became useless.
Over the years, I have stripped down my photography kit. Now I use only one filter: a polariser, which mostly remains on the lens. I use one lens, a 55-250mm telephoto on a cropped sensor. I did carry a wide zoom lens with me, but it never came out of the bag. My lightweight tripod I have used religiously until lately: it now sits patiently in my van.
So my kit consists of the following:
One Body (cropped sensor)
One Telephoto lens 55-250
Magic brush & cloth
The above suits my photography goals, but may not be a fit for yours? Nevertheless, here is what I have found:
The whole process just freed me up. Meaning I can be out with someone and go with the flow: nobody is hanging about waiting for me to take a shot. When out by myself in the hills and countryside, I feel so unencumbered and free. I no longer have to ponder whether to get the tripod out – it is handheld all the way. I have found the whole process liberating and lighter.
One New Year’s Day, I was parked up at Troutbeck in the Lake District with my kids. The sky was dark and dense with turbulent clouds, and heavy raindrops bounced off the bonnet. As the rain hammered off the roof of my van, I sat and contemplated whether to take the kids home. The youngests boredom soon went from frustration to a full-on whinge. The dreich conditions outside soon created a dull and gloomy atmosphere inside. Unexpectedly, however, when all seemed lost, the rain lifted, and shafts of light broke through the clouds. A rainbow then appeared close by, only fleetingly then faded away.
The opportunity was too good to miss, and before you could say, Jack Robinson, I was out of the van with a camera in hand. Like magic, the most mind-blowing phenomenon I had ever seen suddenly revealed itself. A mere 100 yards away, the end of a most vibrant rainbow appeared in the middle of the road. What a lucky leprechaun was I! I knew this was a brief once-in-a-lifetime opportunity that had to be snatched, there and then. A unique moment of natural beauty captured handheld.
I learned two things that day:
- I had to improve the skills needed to shoot handheld, but a tripod would have missed the shot
- An image that captures unique, spontaneous light will always beat a technically composed image.
The rainbow image was taken with a cheap £79 lens with very little time to compose. Technically, not much thought and process went into it; I just went with what felt right. Moreover, the uniqueness of the scene wins over everything else: nothing else matters. So these lessons stayed in my mind for a couple more years, and I carried on as before. But the pandemic lockdown forced me to rethink how I operated. Potentially setting up a tripod could be seen as “breaking the rules” – who would have thought tripoding would attract such disapproval!
Photography Walks:
I love nature. I love walking and running in woodlands, along riverbanks, in moorland and mountains. I love the still early dawns in a kayak as the paddles gently break the mirror-like surface and punctuate the silence. I love the strangely hypnotic way the water gently glides down the paddle and falls to the lake. I have found being in nature a form of meditation, and photography a tool to try and capture what I love: the spiritual and visual beauty of nature. Over the years, both have become an intrinsic part of my life.
I noticed, however, that I was planning my travels in nature around my photography. I have decided to switch that and let the walk be the primary focus, and the camera (at the hip) record the interests on the way. Moreover, this will allow me to capture those unique moments.
Tips for Handheld Landscape Photography:
Focus:
I use autofocus. You could, of course, use manual; however, I find auto mode adequate and efficient.
Exposure:
I use centre weighted metering, as it emphasises the core of your subject. On viewing the jpeg if I need to, I will adjust the Exposure Compensation dial. In general, however, centre-weighted metering works well.
Aperture Priority:
Whilst on a tripod, I use manual. Handheld, aperture priority is more efficient for my needs.
ISO:
How well does your camera cope with noise? My starting point is 100 ISO, but I will increase it to reduce exposure time if required.
F Stop:
F8 is my starting point. I will adjust for a couple of reasons. If I require more depth of field for a sharper foreground, F11 is usually adequate. Equally, opening up the lens will reduce exposure time. And of course, make your subject more prominent by throwing the background out. It may seem a bit complicated as everything is interlinked. You can adjust one dial, and it will impact somewhere else. With practice, however, it will soon become automatic.
Taking the Shot:
Shooting mode:
I find One-Shot mode the most reliable for landscapes. A 2-sec timer will restrict excess movement.
Mirror Lock-Up:
Mirror lock-up is another tool to assist in sharper images. When used in conjunction with a 2-second timer, however, you will not be able to see the composition over that period. Personally, I don’t find this an issue.
Image Stabilisation:
Image stabilisation was designed for users to acquire sharper images when shooting handheld, so this is a must.
3 Principles to follow, which will ensure a sharp image, are the following:
1. Your position must be stable enough to support the camera.
2. The camera must be pointing naturally at the subject.
3. Your movement and breathing must be under control before, during and after the shot is taken.
Basic Principles Detail:
1. Stable Position:
The sitting position is best for support. Elbows should be placed against the inside of the knees. See the image below:
Squatting with one knee forward and elbows supported on the knees. The rear knee supports the shooting arm. See the image below:
Standing with one leg forward to support the weight and give better stability. Your rear leg should be on the same side as the shooting arm. For better stability, tuck your elbows in. See the image below:
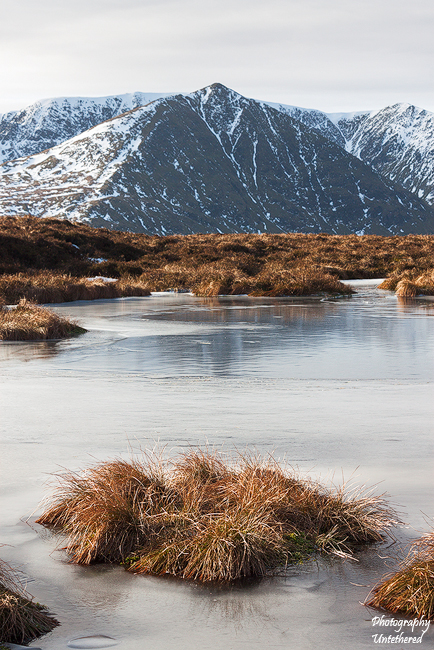
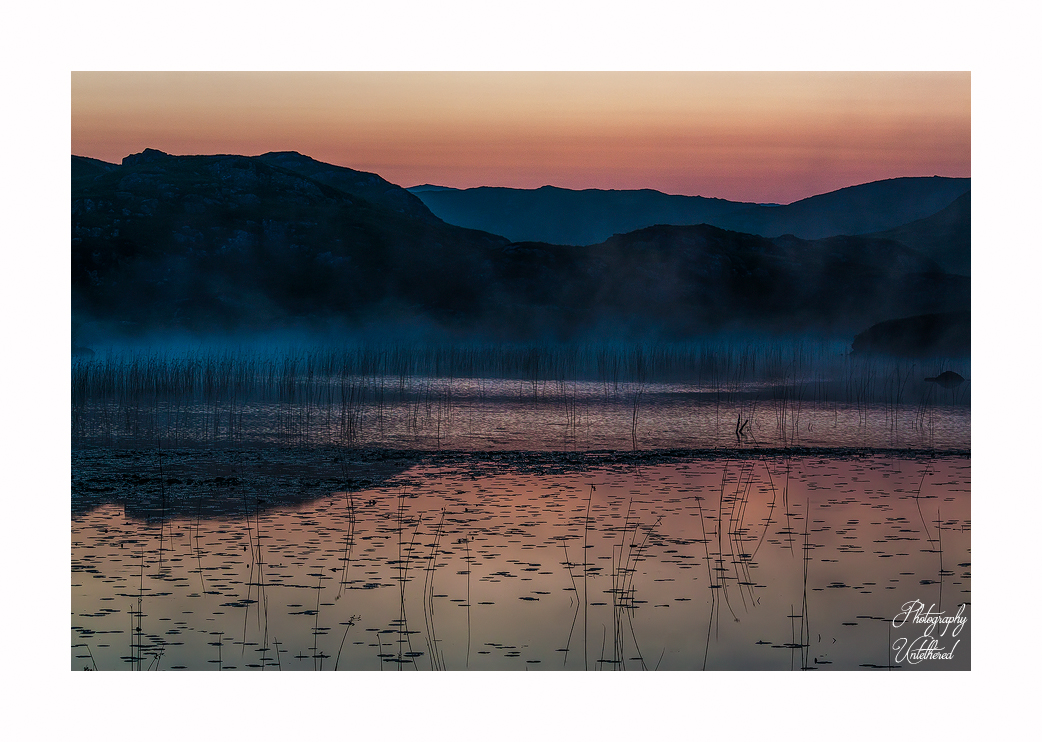
Support using a natural feature, for example, a wall, a fence post and so forth. Use the supporting hand to cup the lens. To achieve maximum support, where possible, lean into the feature: the image below of Loch nan Eun near Lochinver, taken using the van window as support.
2. Ensure that whatever support position you favour, the camera is still pointing naturally at the subject without force. I use a sling for extra stability, but always ensure I do not need to force the camera into alignment with the subject.
3. Keep still and relax your breathing; release half your breath before pressing the shutter button: then hold your breath and keep still whilst the shot is taken. Momentarily keep in this state after the shot has been taken; this will ensure you do not habitually anticipate the end of the shot, as this will cause movement.

FAQ:
Q.Should I use a sling? Absolutely. I use a viper rifle sling, which means you can keep the camera at your side for quick use. Moreover, this can assist stability, as previously mentioned.
Q.Can I use a filter? I only use a polariser, which tends to stay on the lens. Filters like a polariser increase exposure time; however, if the light is adequate, this should not present a problem. Nevertheless, in low light, the filter may have to be removed.
Q.Do I need a lens hood? I would recommend a lens hood: whilst you can use your hand to cover the glare, it reduces your ability to hold the camera steady.
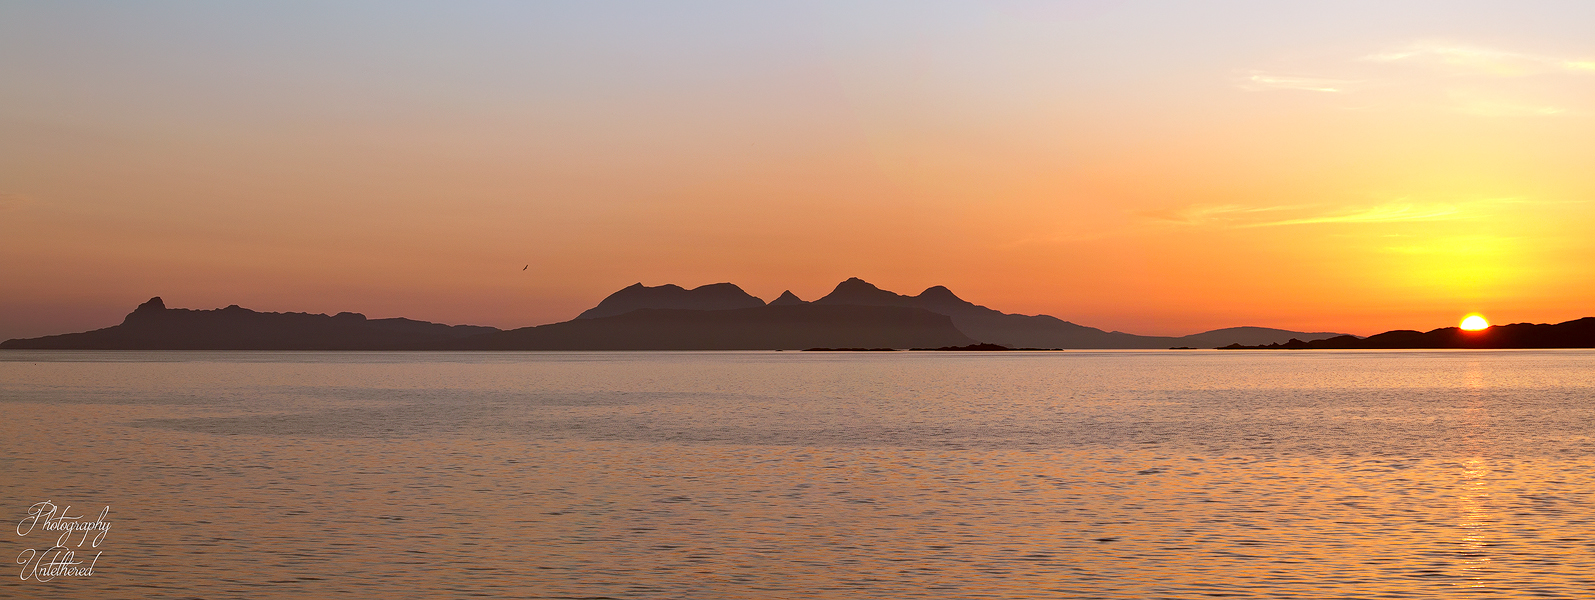
Photographing Panoramas Handheld:
Using the above principles, handheld panoramas are easily possible. Ensure that your focus, f-stop and shutter speed do not change throughout each shot. Focus can be set using autofocus (but then switch off autofocus mode). Set your F-stop and shutter speed in manual mode. Using the same composition principles to shoot a pano on a tripod – get into a stable shooting position. Remember to give plenty of room for overlap and post-processing cropping.
Summary:
There will always be a place for the tripod, and in certain situations, a must. Nevertheless, the freedom attained through shedding the excess gear and going handheld will not only cover most of your needs: it is liberating.
The website is self-funded, and my work is free. All profits from the site’s product links go to SightSavers; if you have enjoyed any aspect of this site, please consider a giving a donation here. No one should go blind from avoidable causes. How many people’s sight will you help us save today?
Fragmented Memory 🙂